Bounties Abroad is the fifth Westmarch quest in Diablo Immortal. It follows on directly from Braving the Rift, after the player finishes talking to Jondo Mouren. Completing this quest leads directly into Diamond in the Rough.
After Diamonds is completed, the player returns to this quest, from which follows Tools of the Trade, then comes back to Bounties. It in turn leads to To the Dark Wood. Eventually, the player comes back to this quest after Fragments of the Past, which leads to A Walk Through Westmarch, then back to Bounties, then Rift of the Elders, which eventually leads back to Bounties.
This in turn leads back to Tools of the Trade.
Description[]
As she promised, Charsi awaits at her smithy. Make sure to speak with her before continuing on your adventure.
Objectives[]
Part 1[]
- Talk to Charsi at the Bounty Board.
(After learning you're headed to the Dark Wood, Charsi suggests you follow her and learn about the services Westmarch offers adventurers.) - Examine the Bounty Board (0/1).
- Talk to Charsi.
(As the name implies, the Bounty Board is where various patrons post bounties in exchange for various rewards.)
Part 2[]
- Talk to Charsi.
(It seems things have finally settled down, and Charsi seems eager to return to her smithy.)
Part 3[]
- Talk to Charsi at her smithy.(1)
(Charsi awaits in her usual place by the anvil. If the journey to the Dark Wood is going to continue, you will need her aid.) - Talk to Charsi.
(Charsi awaits in her usual place by the anvil. If the journey to the Dark Wood is going to continue, you will need her aid.)
Transcript[]
Part 1[]
- Charsi: (from a distance) All done? Before we head out, let me show you something you'll like.

- Charsi: This is the bounty board. The city guard puts up tasks from patrons and adventurers, like you, take care of them. It's a good way to make the gold you'll need to buy better equipment.
But enough of that. I want to hear more about the legendary gems! How did things go in the end? Did you find what you were looking for? - Class: That I did. Cain's research proved accurate again. The legendary gems are hidden within those rifts. Now we just need to find a way to use them.
- Charsi: Hmm...this kind of specialized work is beyond my skill. If anyone's going to know, it's Vic. He's a master jewelcrafter! Been working with gems for years.
I'll show you the way. Why don't you grab a bounty off the board before we leave?
The guard refreshes the bounties every day, so make sure to keep a look out.
- Take a bounty (Opening the Way) from the bounty board
- Charsi: Vic's shop is just to the west of my smithy. If you're ready to go, we can head out now!
Part 2[]
- Inside Glittering Gems and Jewelery
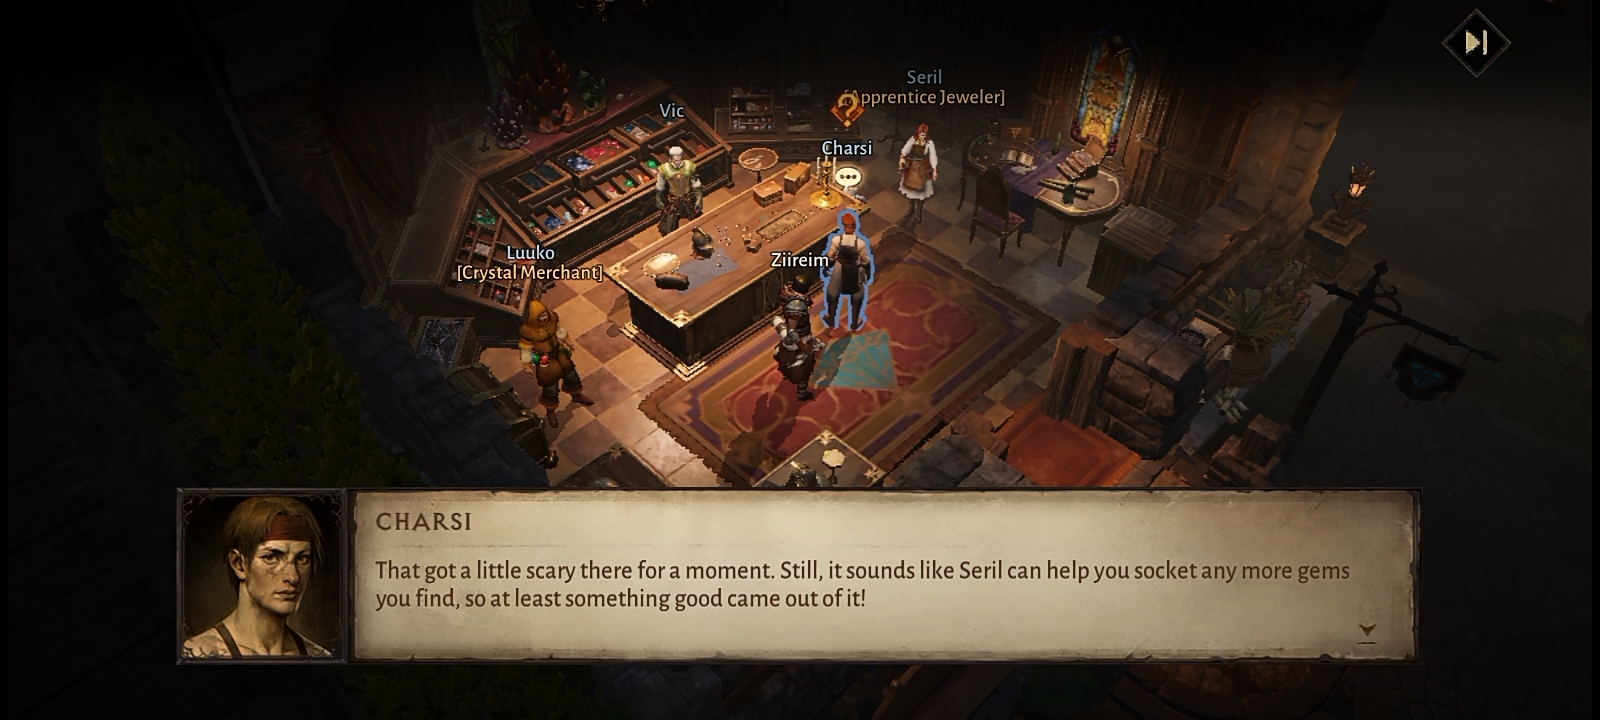
- Charsi: That got a little scary there for a moment. Still, it sounds like Seril can help you socket any more gems you find, so at least something good can come of it!
What do you say we head back to the smithy? Fancy jewels aren't the only way to improve your weapons and armor, after all.
- Follow Charsi to her smithy
Part 3[]


- Charsi: Ah, I've been itching to put the Malus to good use.
- After the player upgrades their weapons
- Charsi: A few spare materials and magical essence can do a lot in the right hands. If you ever need to look to upgrade your gear further, just come on by. Now, about the Dark Wood...brRemember when I said I grew up there? Well, I used to belong to the Sisters of the Sightless Eye. They have a monastery nearby. It's only been a few years, but it feels like a lifetime since I've seen my sisters.
High Priestess Akara gave me this amulet when I left. Said it would open a portal — in case I ever needed to find my way home. If the Worldstone shard is there...they're going to need help. I pray nothing bad has happened— - Class: Thank you, Charsi. You were right, this was a very helpful gift. Don't worry, I'll find Akara.

Part 4[]
- Charsi: There you are! I came as soon as I heard you were back. How was the trip?
- Class: Exhausting, to say the least. Kashya and the Sisters of the Sightless Eye did ask me to send their regards.
- Charsi: They're alive? Oh thank the Great Eye! It's good to know they're well! Hah, and here I thought I was the one bringing the good news!
- Charsi: Remember the elder rift statue in the Palace Courtyard? Well, your successes inspired the Royal Mages to activate the second statue. Why don't we take a look? It'll be a nice break from all this Worldstone stuff. I promise.
- Charsi: They call it the Challenge Rift. Apparently, it connects to strange realms filled with monsters. Adventurers are already competing with each other to see who's the best at killing the things.
- Class: That's interesting. So it's a test of strength then?
- Charsi: Ha. Knew you would be interested. Yeah, sure, you could consider it a test. You can also find some rare materials in there. I've never been inside myself, but it brings a lot of people to my forge.
- Charsi: When you're done, why don't you meet at my shop? Oh, and if you find anything good in there, don't forget to bring it with you.
Part 5[]
- Charsi: Hey, look who it is? The Challenge Rift went well? If you found anything in there you don't need, we can salvage it and use the materials to upgrade your equipment. Nothing wasted around here!
- Charsi: Oh wait, before I forget—I made you something! It's over there on the rack. Consider it a thank you for aiding my sisters. Hopefully it'll aid you on whatever adventure you're off to next.
- Charsi: Speaking of that, most of Rakkis Square is now open for business. All around are useful vendors are merchants. Feel tree to take a look! If you don't know what you're looking for, Wynton's Market is a good place to start.
Quest Rewards[]
The following items are rewarded for completing specific objectives, denoted by the superscript numbers in curved brackets written at the end of the particular objective
- Feature unlocked: Upgrading weapons
Trivia[]
- In the game's beta, this was the eleventh Westmarch quest, following on from A Captain's Need, and leading into Docks of Westmarch.